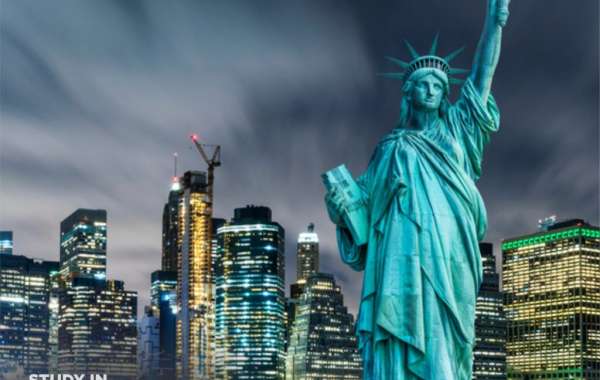
Studying in the United States is a dream for many international students. To make that dream a reality, one of the most critical steps is obtaining a student visa. The U.S. offers two types of student visas for academic purposes: the F-1 visa for academic and language programs and the M-1 visa for vocational or technical programs. This article will walk you through the process of applying for a student visa to study in the USA, focusing on the F-1 visa, which is the most common for international students.
1. Get Accepted to a U.S. Institution
Before you can apply for a student visa, you must be accepted into a U.S. school or university that is certified by the Student and Exchange Visitor Program (SEVP). Once admitted, the school will issue you a form known as Form I-20, which is required for the visa application process.
- Form I-20: This is a Certificate of Eligibility for Nonimmigrant Student Status. It contains your SEVIS (Student and Exchange Visitor Information System) number and other important details about your study program. You'll need this document for both the visa application and the interview.
2. Pay the SEVIS Fee
After receiving your Form I-20, the next step is to pay the SEVIS I-901 fee. This fee is mandatory and helps maintain your information in the SEVIS database. As of now, the SEVIS fee for F-1 students is $350. You will need to keep a receipt as proof of payment for your visa application and interview.
- How to Pay: You can pay the SEVIS fee online by visiting the U.S. Immigration and Customs Enforcement (ICE) website. The payment can be made using a credit card, debit card, or bank transfer.
3. Complete the DS-160 Form
Next, you'll need to fill out the Online Nonimmigrant Visa Application (Form DS-160). This is the main application form for your visa.
Required Information: The DS-160 form will ask for personal details, travel information, and your intended U.S. address (often the address of your university). You’ll also need your passport information, travel history, and the details from your Form I-20.
Upload a Photo: As part of the application, you will need to upload a passport-style photo that meets the U.S. Department of State's guidelines. Make sure it’s clear and professional.
Once you complete the form, you’ll be given a confirmation page with a barcode, which you must print and bring to your visa interview.
4. Pay the Visa Application Fee
You are also required to pay a visa application fee (also known as the MRV fee). For most applicants, this fee is $160. You can pay it online or at a local bank depending on the U.S. embassy or consulate’s payment guidelines in your country.
- Keep the Receipt: You’ll need to bring proof of payment to your visa interview, so make sure you save the receipt.
5. Schedule a Visa Interview
After paying the visa application fee, you need to schedule a visa interview at the U.S. embassy or consulate in your country. You can usually do this online, but some embassies may require a phone appointment.
- Timing: It’s important to schedule the interview well in advance, as wait times can vary depending on the location and time of year. Make sure to apply early to avoid last-minute delays.
6. Attend the Visa Interview
The visa interview is a crucial part of the process. During the interview, a consular officer will assess whether you qualify for a student visa. You will need to bring the following documents:
- Valid passport (must be valid for at least six months beyond your intended stay)
- Form I-20
- DS-160 confirmation page
- Visa application fee receipt
- SEVIS I-901 fee receipt
- Passport-size photo
- Proof of financial support (bank statements, sponsor letters, scholarships)
- Academic transcripts and standardized test scores (if applicable)
During the interview, the officer may ask questions about your study plans, your financial situation, and your intent to return to your home country after completing your studies.
7. Visa Processing and Approval
After the interview, the officer will inform you if your visa is approved or denied. If approved, your passport will be kept for visa stamping and returned to you within a few days. You can track the status of your visa application online.
- Processing Time: Visa processing times vary, but it typically takes 3–5 business days after the interview for the visa to be issued.
8. Entering the U.S.
Once you have your visa, you can travel to the U.S. Keep in mind that you are only allowed to enter the country 30 days before the start date listed on your Form I-20. At the U.S. port of entry, you’ll be required to present your passport, visa, Form I-20, and other supporting documents.
Conclusion
The process of applying for a student visa to study in the USA requires careful attention to detail and thorough preparation. By following these steps and ensuring that you meet all the requirements, you’ll be on your way to starting your academic journey in the United States.