
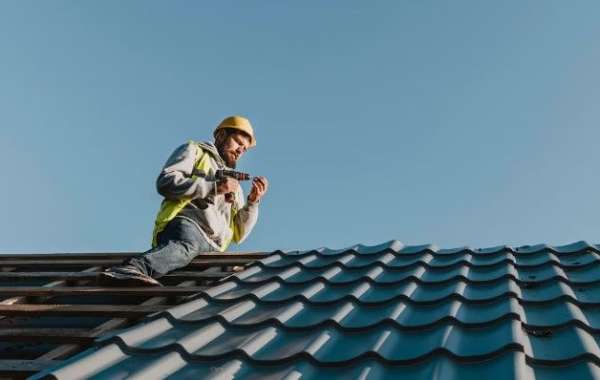
A high-quality roof is essential for protecting your home from weather damage, improving energy efficiency, and increasing property value. Whether you’re constructing a new home or replacing an old roof, proper residential roofing installation is crucial to ensure durability and long-term performance. Understanding the process, choosing the right materials, and working with skilled professionals will help you achieve a roof that stands the test of time.
Selecting the Best Roofing Material
One of the most important decisions in residential roofing installation is choosing the right material. Each type of roofing has its own benefits in terms of cost, lifespan, and weather resistance.
Common Roofing Materials:
- Asphalt Shingles – The most popular choice due to affordability, durability, and easy installation.
- Metal Roofing – Energy-efficient and long-lasting, with excellent resistance to harsh weather conditions.
- Clay or Concrete Tiles – Offer a classic and elegant appearance while being highly durable.
- Wood Shingles or Shakes – Provide a natural and rustic look but require regular maintenance.
- Slate Roofing – A premium option known for its longevity and beauty, though it is costly and heavy.
Your choice should be based on your climate, budget, and the architectural style of your home.
Key Steps in Residential Roofing Installation
Once you’ve selected the right material, the next step is executing a professional residential roofing installation. Here’s a step-by-step overview of the process:
1. Roof Inspection and Preparation
Before starting, contractors inspect the existing roof (if applicable) to check for structural issues. If replacing an old roof, the previous materials are removed, and the decking is examined for damage. Any weak or rotted areas are repaired before moving forward.
2. Installing the Underlayment
A high-quality underlayment is placed over the roof decking to provide an additional waterproof barrier. This step is essential to prevent moisture from seeping into your home and causing leaks.
3. Flashing and Drip Edge Installation
Flashing is installed around areas prone to water penetration, such as chimneys, vents, and skylights. Drip edges are also placed along the edges of the roof to direct water away from the structure.
4. Installing the Roofing Material
The selected roofing material is carefully laid out, starting from the bottom and working upwards. Proper overlapping, fastening, and alignment ensure durability and resistance to wind and rain.
5. Ventilation and Insulation
Proper ventilation is crucial for maintaining a balanced attic temperature, reducing moisture buildup, and improving energy efficiency. Ridge vents, soffit vents, and insulation help prolong the roof’s lifespan.
6. Final Inspection and Cleanup
After completing the residential roofing installation, a thorough inspection is conducted to ensure the roof is secure and properly sealed. Contractors then clean the work area, removing debris and leftover materials.
Conclusion
A well-executed residential roofing installation protects your home, enhances its aesthetic appeal, and increases its overall value. By selecting high-quality materials and ensuring proper installation, you can enjoy a long-lasting and weather-resistant roof. Regular maintenance and periodic inspections will further extend the roof’s lifespan, keeping your home safe and secure for many years. Whether you are installing a new roof or replacing an existing one, working with experienced roofing professionals guarantees the best results.